
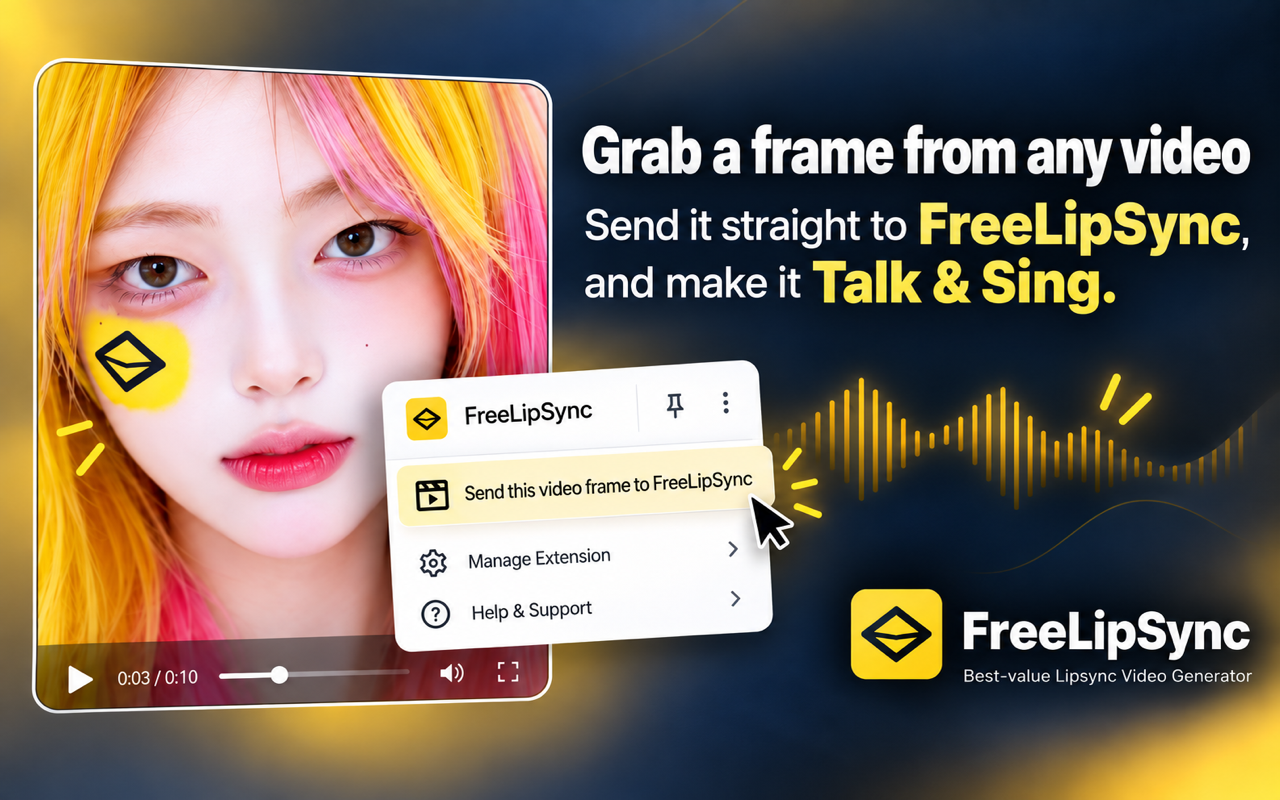
Found a useful moment in a video? Pause it and send that frame straight to FreeLipSync. The Chrome extension brings video frames, webpage images, and audio into the editor, saving you the separate save-and-upload steps.
Set up once
Install FreeLipSync from the Chrome Web Store in desktop Chrome. Open Chrome’s Extensions menu and pin FreeLipSync for quick access.
Complete the first-use material-rights acknowledgement and grant the requested source-site access. Choose media you have permission to use, including the person’s permission where applicable.
Import a video frame from YouTube, TikTok, or Instagram
A video can contain a great portrait even when you do not have a separate image file. Frame import lets you bring that moment directly into FreeLipSync without taking, cropping, saving, and uploading a screenshot yourself.
- Open the video in desktop Chrome. Find a moment with a clear face and little motion blur.
- Pause on the frame you want. That still image will become your starting picture.
- Click FreeLipSync in the toolbar. If it is not pinned, open Chrome’s Extensions menu and select FreeLipSync there.
- Check the new FreeLipSync tab. The captured frame should appear in the image input, ready for you to add text or audio.
YouTube example: pause on a frame, select FreeLipSync from Chrome’s Extensions menu, and continue with that image already loaded.
The recording above shows the YouTube route. On an accessible TikTok or Instagram video page, use the same pause-and-import workflow. When a player shows its own right-click menu, use the toolbar action shown here.
What arrives in FreeLipSync? One still frame. The original video’s motion and soundtrack are not included in this import. You can give the picture a new voice after it loads.
For frequent use, you can assign a frame-capture keyboard shortcut at chrome://extensions/shortcuts.
Import an image with a right-click
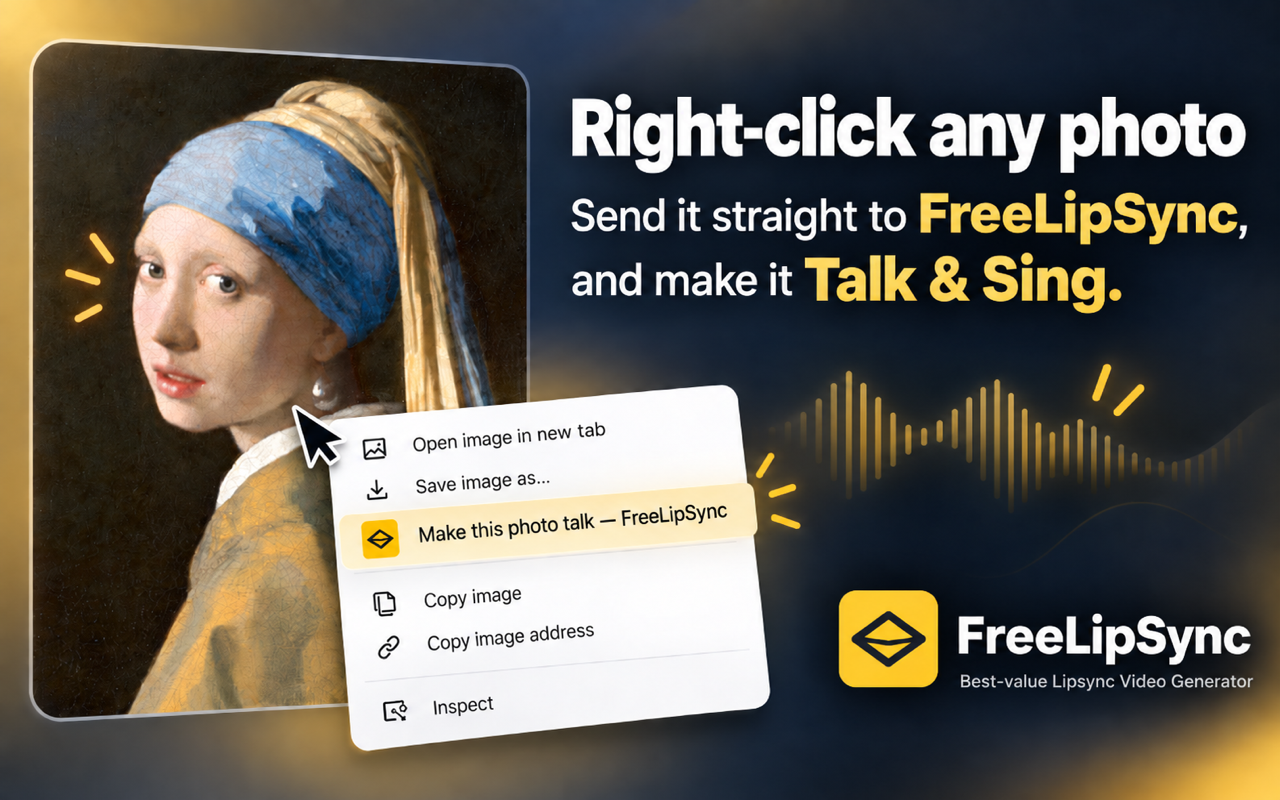
Send a webpage picture straight to FreeLipSync using the image context menu.
For a picture already on a webpage, use the image menu:
- Right-click directly on the picture.
- Select Make this photo talk — FreeLipSync.
- Check that the same picture appears in the new FreeLipSync tab.
Image example: the portrait on the Girl with a Pearl Earring page moves directly into the FreeLipSync image input.
This is handy when you already have the picture you want in front of you. Once it appears in the editor, continue there with your script or recording.
Import audio from a webpage player
You can also start with a sound clip and add a picture afterward:
- Right-click the webpage’s audio player.
- Choose Lip sync to this audio — FreeLipSync.
- In the new tab, check the loaded audio under Upload Audio.
- Add the picture or video you want to pair with it in that same tab.
Audio example: the clip arrives in Upload Audio, while the image/video input is still waiting for your visual.
Audio import needs an accessible media-file link. The demonstration uses a musical excerpt from the Für Elise page to show the transfer; for spoken lip sync, choose a clip with clear speech.
Continue creating in FreeLipSync
After importing a picture or frame, choose Input Text to write a line and select a voice, or Upload Audio to add your recording. If you imported audio first, add your visual in the same editor tab.
Check your inputs, choose the generation option that fits your needs, and follow the conditions shown on the website. The extension prepares your media; generation starts when you choose to run it.
For the next steps, see make a photo talk with text or make a photo talk with uploaded audio. To work with a complete moving video file, use audio-to-video lip sync.
Troubleshooting
The video player does not show the extension in its right-click menu
Pause the video and click FreeLipSync from Chrome’s toolbar or Extensions menu. This is the route shown in the YouTube demo.
FreeLipSync opens, but the media is missing
Check that the extension is enabled and that you granted access to the source site. Retry from the page containing the media. If you have the original file, you can also upload it directly on FreeLipSync.
The image action is missing
Right-click the actual picture, rather than nearby text or empty space. Check that the extension is installed and enabled.
The audio loaded, but the image input is empty
That is the state shown in the audio demo. Add your picture or video in the same tab before generating.
Frequently asked questions
Does video-frame import download the whole YouTube, TikTok, or Instagram video?
No. It imports the selected moment as a still image. You can then animate that picture with a new script or audio in FreeLipSync.
Will every video on those platforms work?
No. Playback protection, site permissions, and page access can limit capture. The published extension listing excludes DRM-protected media and resources requiring a signed-in session.
Can I combine imports from separate pages?
The demos show each import opening a destination tab. Start by importing one asset, then add the other input in that same FreeLipSync tab; separate imports are not demonstrated as merging into an existing draft.
Do I need the extension to generate a talking picture?
No. You can upload your own files directly to the talking photo tool. The extension is a convenient way to bring in media while browsing.
Can I use these extension steps on my phone?
These steps use desktop Chrome. On a phone, open FreeLipSync and use the website’s upload workflow.


